If you are looking for quick tips on creating fabulous listings to sell your items online quickly, using just your Smartphone, you have clicked on the right post!
Here you will find a lot of simple dos and don’ts to keep in mind to create attractive listings that rise above the rest, and grab potential buyer’s attention. You can post your listings easily, without fancy equipment, special lighting, or investing in expensive cameras. You don’t even need a computer. As long as you have a Smartphone, you are in business!
We could expand each of these categories to a post all on their own, but here are some key points to get you started:

Listing Title & SEO
You may have heard of SEO - Search Engine Optimization. SEO is important to understand in order for your listing to get higher in your selling platform’s search results, as well as in getting organic traffic. There’s a lot of extensive info out there by people more versed in it than I to give you an in-depth tutorial. But here’s enough to get you started on the right track to make sure your listing gets placed high in the algorithm, and picked up by those crawling search engines.

The keywords you choose to put in your title will determine if a buyer will see your item at the top of the queue, or if it will be lost six pages deep. As you have perhaps always known: words are important. Always look at your item and start by asking yourself, “If I wanted to find this on the Internet, what would I type in the Search bar?”
The first words have more merit, so put the most important descriptive words at the beginning. Don’t start off with words like “Beautiful” or “Stunning” for an art glass vase. Start with “Art Glass Vase”,or “Vintage Art Glass Vase” - then add color, style, type, etc. Don’t just string a bunch of random keywords together though, have it make sense.
Use up your allowed character limit. It might be difficult to come up with descriptive words at first, but as you get more practice, they will be cutting you off at the max limit! Is your item glass, ceramic, porcelain? Is it white, grey, or gold? Is it new or used? Vintage or antique? Vintage is at least 20 years, antique is over 100, so please don’t overstate your mid-century atomic cats as antique (they are cool enough being atomic!)
If you are selling a set of 6, say it! I hate having to hunt through the listing to find out if the price is for one, or multiples - especially if the price is high. If it’s not right up front, the buyer may just move right on.
If it seems similar to a popular, expensive brand, don’t write, “Bose-like sound quality” in your description of a lesser brand. If your glass decanter looks like Waterford, don’t add a question mark and describe it as “Waterford?” to get hits from the keyword. This will only get you into trouble.
Don’t write “LOOK” with googly eyes. We’re past that.
Photos - Important but not Daunting
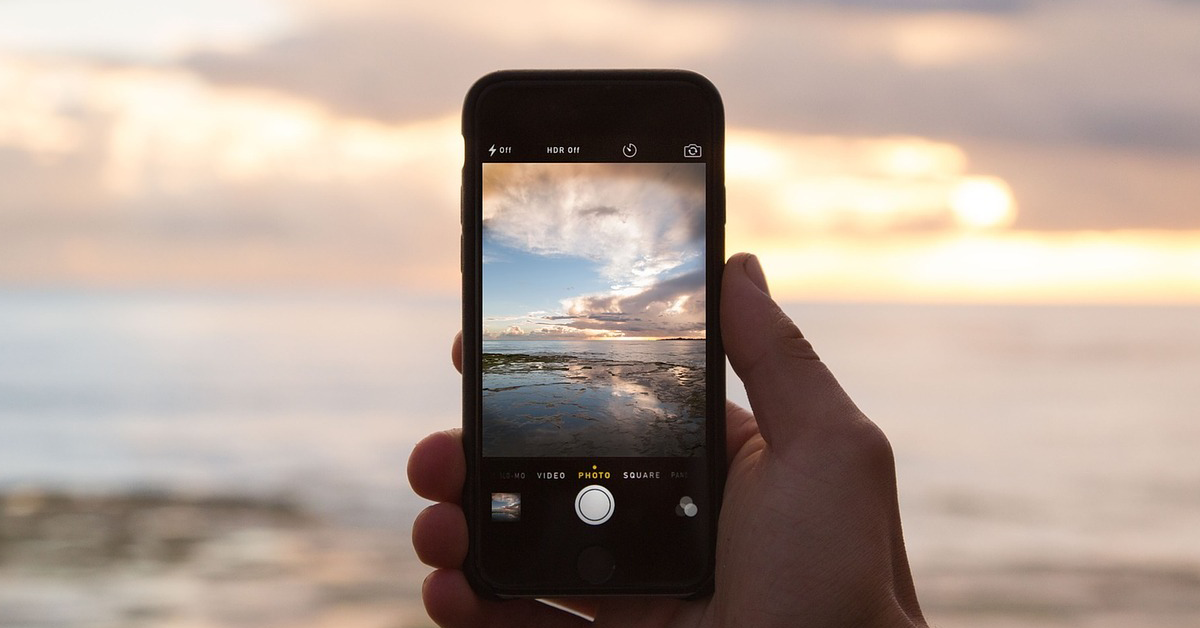
Now that smartphones can take pictures with such great clarity, there is no necessity to invest in a fancy camera. But let’s be clear - and not fuzzy. That seems like a no-brainer, but if you do a quick search for listings, you will quickly find out why I bring that up. Make sure your photos are bright, sharp, and clear before you snap, tap, or click. No one likes a blurry photo. You can always put your phone on a mini tripod if your hands are too unsteady, or put it on a delay and then lean it on the counter.
It is best to have a plain white background. Many listings you see will have the item so staged that it becomes lost. Or on the other end of the spectrum, they’ll have a photo of a bicycle with trash cans in the background, or an open garage filled with junk. That is not appealing to a buyer and is a distraction. If it is a small item, photograph it on something as simple as a plain piece of paper. If it is larger, curve a poster board sheet on your counter and against the wall, then crop the photo if you see anything outside of the sheet.
If you are compelled to put your vintage glassware on an antique doily and have a posy of flowers in the background, that’s fine, but put it in the second photo slot.
4. Show everything in your first photo. If you are selling a camera with a bag and lenses, don’t have your first photo show just the camera. People scroll quick as lightning, and if they see the camera and the price, they’re likely to move on if they don’t stop and read the title. Though if they see the bag, lenses, and camera, they will see the value in the price for all of it and stop in for a closer look.
5. Original boxes with items are a big draw. If you have the original box, have it in the shot.
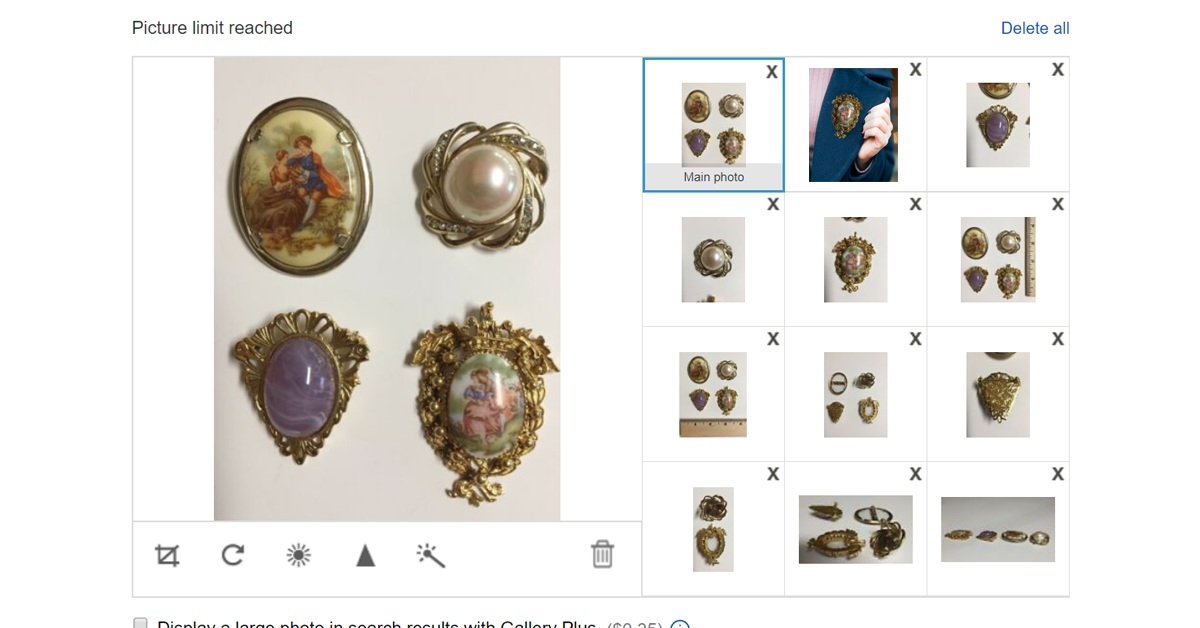
6. Upload as many different photos as your platform allows. For instance, at the time of this writing, eBay allows 12 and Etsy allows 10. Use them all! Buyers love photos. You don’t want your buyer to have any surprises when they receive their items - unless they’re writing to say, “even better than the pictures!”. Make sure to show every side, every angle: top to bottom and back to front. People want to see the maker’s marks under china plates, the model numbers on stereos, the copyright dates: everything. Make sure to capture every flaw - no, you can’t hide anything. Even show them in close-up. Picture them with a ruler to show scale.
It’s All in the Description

Yes, there are sold items with the description,“6 inch figurine” and that’s it. But you will have better luck if you write a little more - buyers love info. On the other end of the (color) spectrum, if you are too specific and call something melon and the buyer says, “it is clearly orange!”, they may want to return it - uh oh. Remember, different monitors can make the color show a little different.as well.
Make sure you include the dimensions. Photos can make size so deceiving! I once bought an art print online without listed dimensions or anything showing scale. At most it seemed like it would be 16” by 20”. Turns out I could barely fit it into my SUV.
Having looked over your item carefully and in good lighting to note any flaws for your photographs, you must also document those issues. Yes, a picture is worth a thousand words, so keep it brief. If there’s a nick or chip, just say, “There is a nick on the rim. See photo 4 for a close-up”, so they know what you’re talking about.
Is there anything else you would want to know if you were purchasing this lovely treasure? Don’t assume the buyer knows you can expect to have wear on the gold trim of an antique plate. Even if you’ve pictured it, you must state it in the description as well!

5. If you have something else in your photos - background items, flowers in a vase, or plate on a stand - make sure to note, “stand/flowers not included”. Also, if something needs batteries, “Requires (how many and type of) batteries, not included.” That way they can get those 6 AAA batteries before your package arrives and they will be ready to go. Remember the disappointment at Christmas when you got a cool present, but needed batteries and Santa didn’t have them at the ready? Never be a bad Santa to your buyer.
6. If you have tested an item to check if it works, include that info: “Iron heats up” or “Powers on, but no further testing performed.”
7. Have fun with your description! Let them know what they could do with their potential item. Buyers may love your art glass bowl, but might wonder where they could put it. If your description has, “This gorgeous bowl will look great as a centerpiece on your table filled with fruit, or on your island in your kitchen with decorative balls,” or if it’s just a great stand-alone showstopper focal point on an entry table, tell them!
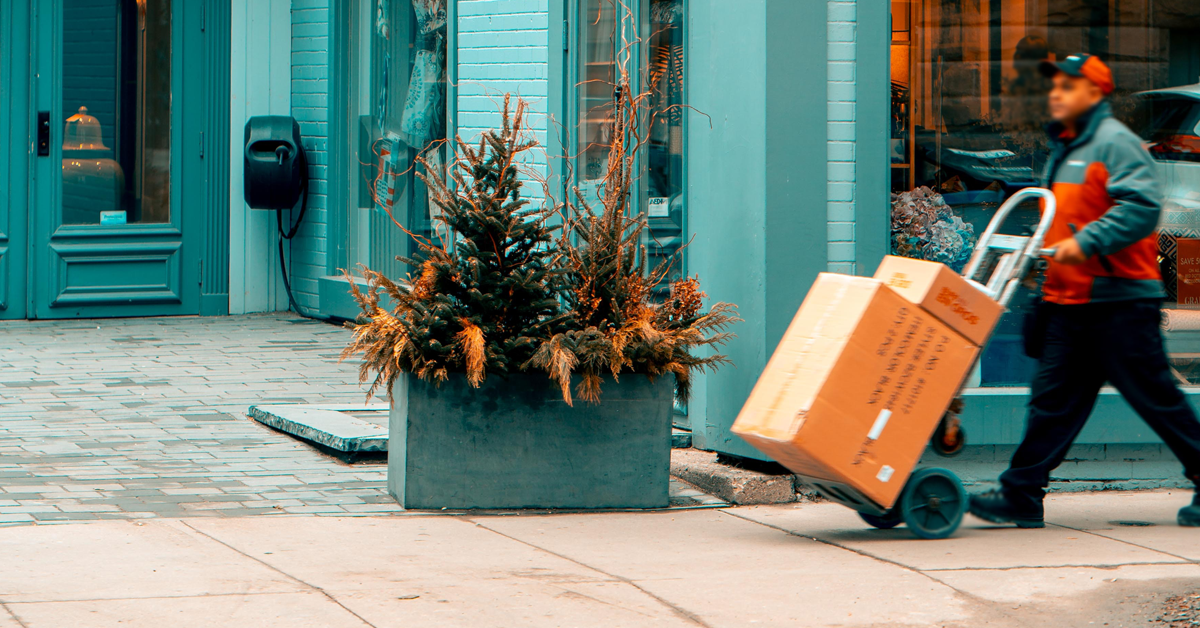
Shipping - Everyone’s Favorite Task
If you want to offer free shipping, and buyers do love free shipping, you are going to have to raise your asking price to compensate for it. Unless it’s a lightweight item, I always have the buyer pay for shipping. While you do have the option of choosing a flat shipping fee, it fluctuates dramatically depending on where it is going. For automatic calculation, all you have to do is enter the accurate shipping weight and size of the box and the price is calculated automatically for the buyer according to their “ship to” zip code.
Make absolutely sure you can ship it for the dimensions and weight you say. For instance, if you go over 36” in length + width + height by just one inch, the shipping cost via USPS jumps dramatically, and you can lose all your profit. If you overestimate or inflate the size and weight, the price of shipping may look cost prohibitive to your buyer, or they can comment on your high shipping charges. Especially when starting out, it’s a good idea to have a shipping box ready for each of the items you are listing.
Proofread, List, and Share
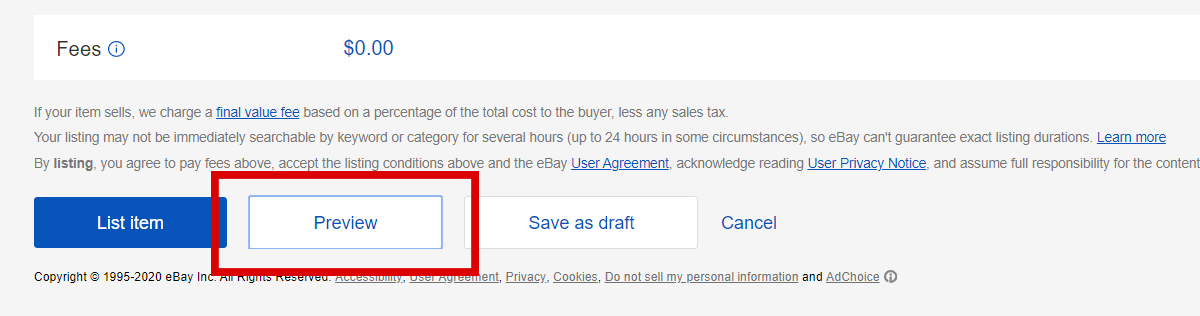
In our last post we extensively covered pricing your item, be sure to read that here. But before you go live with your item, always preview how it will look and proofread it. Make sure you double-check your price, and that you didn’t price your $99.97 item at $9.97! You can catch mistakes easier looking at it in preview.
Like what you see? Now list that item! Most platforms have a “share” prompt after you list it. Don’t be shy. Share it on Facebook, pin it on Pinterest. The more people see it, the better chance of hearing the sound your platform uses to let you know you had a sale! Ka-ching!

Look for our “Tips, tricks, and techniques I wish I had known when I first started selling” article next week, in the fourth part of our series. Happy selling!